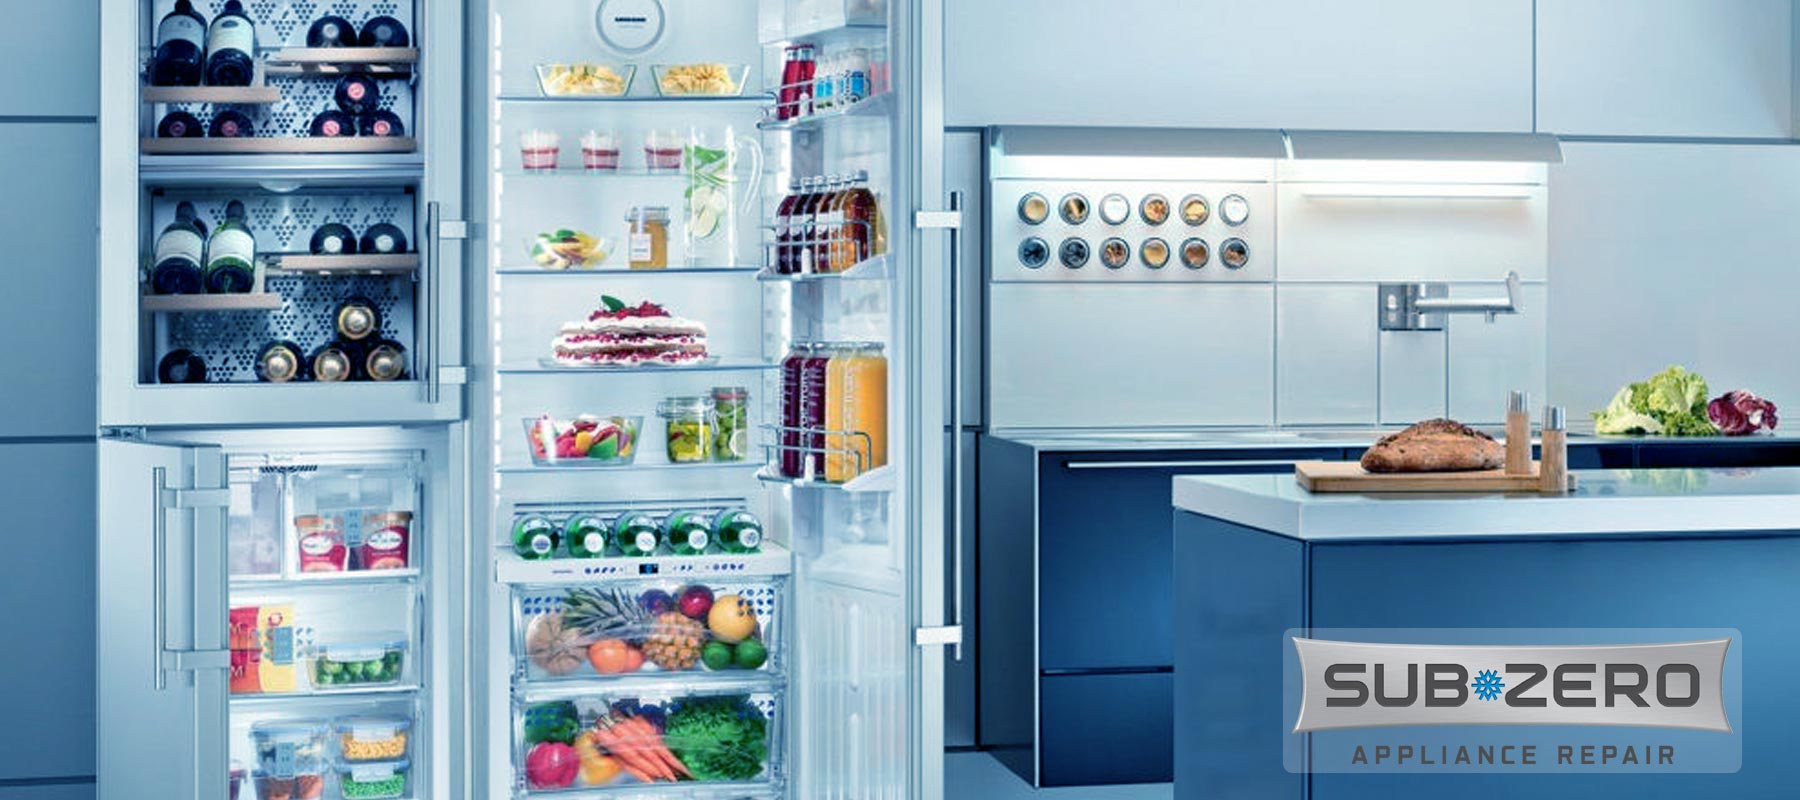
Sub-Zero refrigerators are known for their top-tier performance and reliability. However, when your Sub-Zero fridge freezer is not working as it should, it can be a significant disruption. Fortunately, many common issues can be resolved with a few straightforward steps. This guide will walk you through quick fixes to get your Sub-Zero appliance up and running again.
1. Verify the Power Connection
The first step when troubleshooting your Sub-Zero fridge freezer is to ensure it’s properly connected to power.
- Check the Power Cord: Confirm the power cord is securely plugged into a functioning outlet. Over time, cords can loosen or disconnect.
- Test the Outlet: Plug another device into the same outlet to verify if it’s supplying power. If not, check your home’s circuit breaker or fuse box for tripped breakers or blown fuses.
- Inspect the Cord: Look for visible damage such as fraying or cuts that may affect electrical flow.
2. Set the Correct Temperature
Incorrect temperature settings can lead to inadequate cooling in your fridge or freezer compartments.
- Adjust Temperature Controls: Locate the temperature control panel inside your fridge and freezer. Set the fridge section to around 37°F (3°C) and the freezer section to 0°F (-18°C) for optimal performance.
- Verify with Thermometer: Use a refrigerator and freezer thermometer to ensure the internal temperatures match your settings accurately. This helps identify if the thermostat needs adjustment or replacement.
3. Clean the Condenser Coils
Dirty or clogged condenser coils can reduce cooling efficiency.
- Locate the Condenser Coils: Typically found at the back or underneath the unit, these coils dissipate heat from the fridge and freezer compartments.
- Unplug the Appliance: Before cleaning, disconnect the power supply to avoid electrical hazards.
- Clean the Coils: Use a vacuum cleaner with a soft brush attachment or a coil cleaning brush to gently remove dust, dirt, and debris. Regular cleaning (at least twice a year) ensures proper heat dissipation and improves overall efficiency.
4. Inspect and Maintain Door Seals
Effective door seals are essential for maintaining consistent temperatures.
- Visual Inspection: Carefully inspect the door seals (gaskets) for wear, cracks, or gaps that could allow cold air to escape.
- Perform the Dollar Bill Test: Close a dollar bill or piece of paper in the door and attempt to pull it out. If it slides out easily, the seals may need replacement.
- Clean the Seals: Wipe the door seals with a soft cloth dampened with warm, soapy water to remove dirt, debris, or sticky residue. Clean seals ensure a tight, efficient seal when closed.
5. Defrost the Freezer
Ice build-up can obstruct airflow and affect cooling performance.
- Empty the Freezer: Transfer food items to another freezer or cooler to prevent spoilage.
- Turn Off the Freezer: Unplug the appliance or switch off the freezer section.
- Melt the Ice: Leave the freezer door open to allow ice to melt naturally. Place towels around the base to absorb water as the ice thaws.
- Clean and Dry: Once the ice has melted, clean the interior with a mild detergent solution. Dry thoroughly before returning food items.
6. Check the Evaporator Fan
The evaporator fan circulates cold air throughout the fridge and freezer.
- Locate the Evaporator Fan: Typically behind the rear panel inside the freezer section.
- Listen for Noises: Unusual sounds like grinding or squealing may indicate a problem with the fan.
- Inspect for Blockages: Ensure no ice or debris is obstructing the fan blades.
- Test the Fan: If the fan doesn’t operate when the fridge is on, the motor may need replacement by a qualified technician.
7. Evaluate the Thermostat
A faulty thermostat can disrupt temperature regulation.
- Find the Thermostat: Consult your appliance manual for its location.
- Test for Continuity: Use a multimeter to check continuity in the thermostat. No continuity indicates a defective thermostat requiring replacement.
- Replace the Thermostat: Follow manufacturer guidelines or consult a professional technician for replacement.
8. Clear the Drainage System
Clogged drain tubes can cause water accumulation and ice build-up.
- Locate the Drain Hole: Usually at the rear of the freezer compartment.
- Flush with Warm Water: Use a turkey baster or small funnel to flush warm water through the drain hole. This helps dissolve ice and debris blocking drainage.
- Use a Pipe Cleaner: For stubborn clogs, gently insert a flexible pipe cleaner into the drain hole to clear debris.
- Dry the Area: Wipe around the drain hole with a cloth to remove excess moisture and prevent future ice formation.
9. Professional Assistance
If troubleshooting doesn’t resolve the issue, seek professional Sub Zero Freezer Repair Services.
- Find a Certified Technician: Look for technicians certified by Sub-Zero to ensure expertise in your appliance.
- Schedule a Service Appointment: Contact a technician like Sub Zero Certified Repair and provide detailed information about the problem.
- Prepare for the Visit: Clear the area around your fridge freezer for easy access during repairs.
By following these detailed troubleshooting steps, you can often resolve issues with your Sub-Zero fridge freezer and restore optimal performance. Regular maintenance and prompt attention to problems can extend the lifespan of your appliance.
Conclusion
A Sub-Zero fridge freezer not working can be a significant hassle, but with these easy troubleshooting steps, you can often identify and resolve the problem yourself. Regular maintenance and prompt attention to potential problems can keep your Sub-Zero fridge freezer running smoothly for years to come. For reliable Sub Zero Freezer Repair Service in Bay Harbor Island or near you, trust no other than Sub Zero Certified Repair!
If you want to read more information about your Sub-Zero appliance, check out our blog on how to clean the Sub-Zero condenser.
